
For many families, the kitchen is the heart of the home. It is the location for socialising with friends, reflecting on the day with loved ones and celebrating milestone occasions. The kitchen is one of the only rooms in the home that is guaranteed to be used day in, day out to fill hungry bellies and stock up on treats. While it is fantastic to see the resident chef cooking up a storm and every family member enjoying delicious meals, it does mean that the kitchen quickly accumulates clutter, dust and grime. Ensuring that the kitchen remains clean, hygienic and disinfected is imperative in stopping bacteria and harmful germs from spreading to food. With this in mind, we have devised a comprehensive kitchen cleaning guide from tackling oven grease to refreshing the fridge, in order to cover every aspect of your home’s central hub!
An Expert Kitchen Cleaning Guide
Keeping your kitchen free from bacteria and germs does not have to be a time-consuming, tedious task. There is no harm in tackling each component of your kitchen one-by-one until every appliance, fixture and fitting is looking as good as new! During our ultimate guide to cleaning your kitchen, we will take you through handy tips and tricks to guarantee results when completing the following tasks:
- Unclogging The Sink
- Tackling The Oven
- Decluttering The Counters
- Refreshing The Fridge
- Disinfecting The Flooring
- Sanitising The Microwave
- Filtering Through Cupboards
- Dusting High Shelves
- Deodorising Bins
- Deep Cleaning The Dishwasher

Unclogging The Sink
The sink is one of the only components of the kitchen that has multiple uses. Not only is the sink used to wash dishes and utensils but also to drain food and tip away unwanted liquids. Due to this, it becomes one of the biggest culprits for harbouring bacteria.
If you notice that water is beginning to take considerably longer to drain, then it is more than likely that you have a blockage. Before reaching for harsh chemicals or calling a plumber, first, try natural DIY methods – if successful, these will save you both time and money! One of the most straightforward approaches to tackling a clogged sink is merely through pouring boiling water into the drain; this may be enough to start to dissolve the waste causing the blockage. If this proves unsuccessful, you may need to invest in a drain plunger or sink auger. For more information on how to correctly use these two pieces of equipment, take a look at The Spruce.
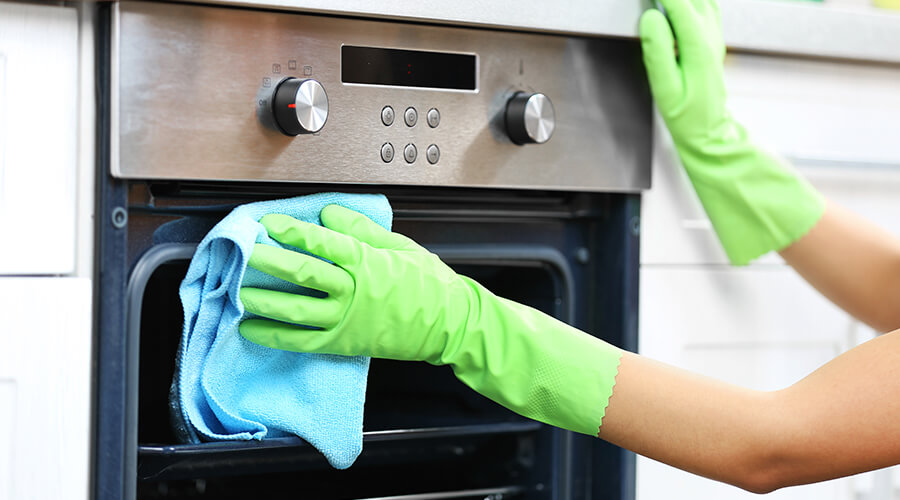
Tackling The Oven
If your oven produces smoke each time it is in use, it is a good indication that each component requires cleaning. It is vital to ensure that you opt for cleaning on a day where you will not need to use your oven as, to maximise results, the cleaning solution needs to be left to settle overnight.
Begin by opening all windows in the kitchen to ensure that the room is well-ventilated. It may also prove beneficial to place old towels or kitchen roll on the flooring surrounding the oven to avoid mess from spreading. All inner components such as the shelves should be removed and placed to soak in warm soapy water. Allowing the shelves to soak while cleaning the oven will begin to break up any stubborn grease, making it simple to wipe away before placing back in the oven.
Now that you have a blank canvas to work from, you can start to make your cleaning solution. As opposed to using harsh chemicals, we aim to provide natural homemade solutions that can be made using household ingredients. The best natural oven cleaner, according to The Kitchn, proves to be a paste made with half a cup of baking soda and as much water required to create a spreadable paste. The paste can then be spread across all inner surfaces of the oven – areas with particularly thick grime may benefit from a thicker layer. Allow the solution to rest overnight; aim for around 12 hours if possible.
Once rested, the paste, along with all dirt, can then be wiped away using a damp cloth. Any areas that are proving stubborn can be scraped off using a spatula.
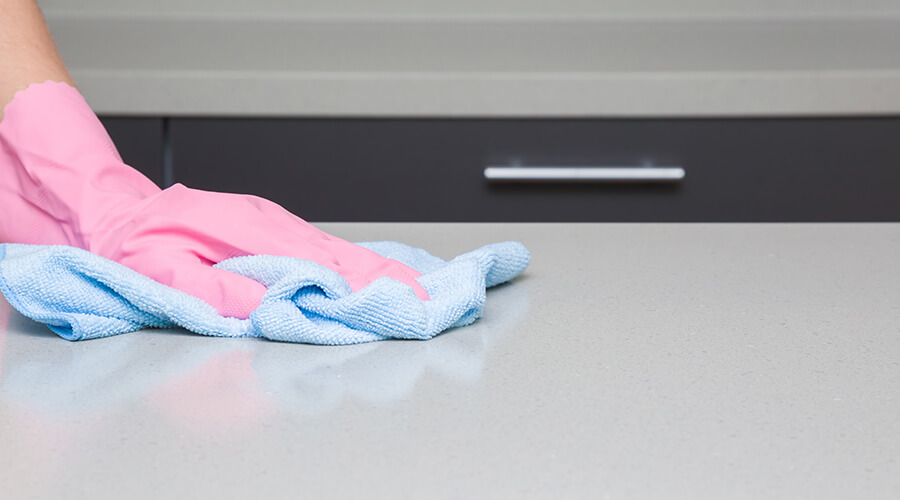
Decluttering The Counters
Due to the array of different appliances and utensils required for a functional kitchen, counters can quickly accumulate clutter making it somewhat tricky to maintain an immaculate appearance. With many years of experience installing kitchens in Buckingham and surrounding areas, we have noticed the growing need for additional storage. Many clients opt for constructing a design that explicitly incorporates handy hidden storage to achieve the sought-after minimalist aesthetics.
Organising your kitchen and avoiding cluttered countertops doesn’t have to be a dull task. Try to encourage all members of the family to get into the routine of putting items away immediately after use; this will dramatically reduce the need to take time out specifically to tidy worktops. Aim to make use of every available space you have; for example, corner cupboards are ideal for installing custom solutions such as shelving optimisers and carousels. We recently published an article on 10 kitchen appliance storage ideas which is most definitely worth a read for some well-needed inspiration!
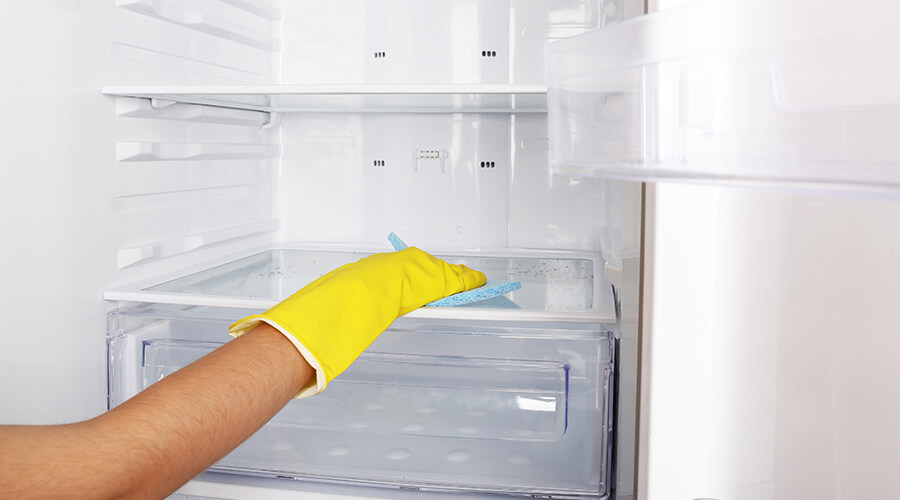
Refreshing The Fridge
Taking time to regularly clear out and refresh your fridge is vital in ensuring that an unpleasant odour does not begin to build up due to expired items. While it may sound somewhat time-consuming, allocate a few hours to take everything out of the fridge and filter through each product’s expiry date – you would be surprised the number of out of date items you will come across!
Before restocking the fridge, thoroughly wipe down all shelves, drawers and walls with a soft sponge soaked in warm, soapy water; washing up liquid would work perfectly. You can then begin to place all in-date items back in their allocated space strategically. To eliminate odours and add a fresh scent, a natural air freshener can be made using lemons. Simply place a sliced lemon into a shallow bowl and sprinkle two tablespoons of salt and three tablespoons of baking soda on top. Pop the dish into the fridge uncovered and allow the lemon to work its magic for up to a week before removing.
Disinfecting The Flooring
Kitchen flooring becomes filled with crumbs, grease and spillages super quickly which means that ideally, you should ensure that you clean flooring once a week. Whether you have vinyl, ceramic, wood, marble or laminate tiles, there are a few key steps to follow to ensure sparkling results!
Begin by sweeping or vacuuming away all debris from the flooring to avoid dirt being spread across a clean surface. Fill a bucket with a solution of warm water and the cleaning solution of your choice, whether this may be a specialist floor cleaner or merely white vinegar. A mop can then be used to start cleaning the surface using light pressure. Additional pressure can be added to areas with stubborn stains. Be sure to use a towel to wipe away any excess liquid and open windows to avoid slipping hazards and air dry the flooring.
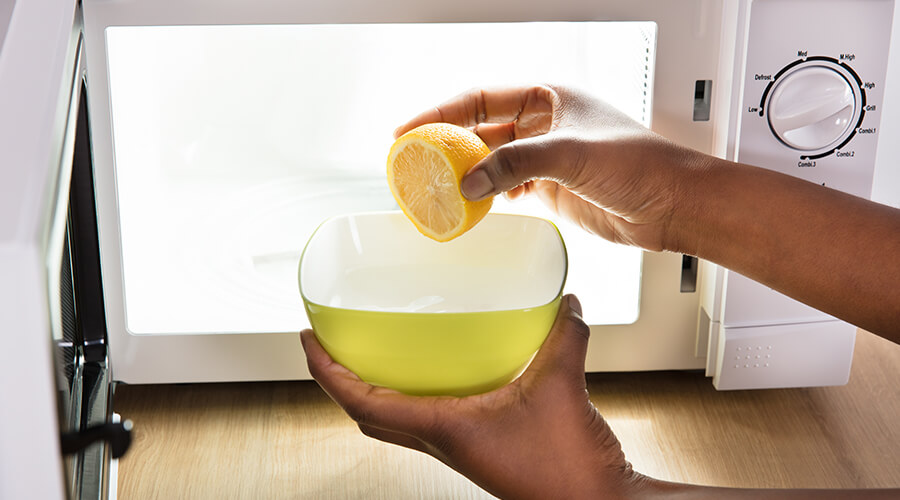
Sanitising The Microwave
Microwaves are one of the easiest kitchen appliances to clean and take a matter of minutes to look as good as new! Merely fill a microwave-safe bowl with water and place in the microwave on full power for two minutes. For a fresh scent, feel free to squeeze a little fresh lemon juice into the water before placing in the microwave. The steam from the water will begin to loosen stains, making them super easy to wipe away. You will then be able to spray multi-purpose cleaning spray onto the inside of the microwave and wipe away all dirt using a clean, dry cloth.
Filtering Through Cupboards
Similarly to the fridge, kitchen cupboards need to be regularly cleared out and cleaned to avoid expired products from causing mould. Filter through all items just as you would do so when clearing out your fridge and throw away any items that are expired. If you come across any long-lasting products that are still within their expiry date and unopened, but you no longer want, most definitely consider donating them to your local food bank. Your nearest food bank can be found using The Trussel Group search tool!
Before placing items back into cupboards, don’t forget to give them a quick wipe down to remove all dust, debris and spillages. A combination of hot water and white vinegar is an effective, low-cost solution to lift away any stubborn cupboard grime. Ensure that all surfaces are dry before restocking items to avoid condensation.
Dusting High Shelves
When cleaning a kitchen, many areas are often forgotten about, the main of which continues to be high shelves. Dusting shelves regularly mean that you can avoid a thick layer from accumulating and providing stubborn to remove in the future.
If you have a small portable vacuum cleaner, then this would be ideal for quickly cleaning away all shelf dust. On the other hand, if you don’t have the equipment to hand, a microfibre cloth would work just as well. Microfibre cloths are a worthwhile investment if you’re hoping to ‘go green’ and begin lowering your household’s carbon footprint. Due to the hundreds of tiny fibres used to make the cloths, they are fantastic for grabbing every minuscule particle of dust. They can then continue to be washed and reused.
Deodorising Bins
There is nothing more unappealing than a bin filled with foul-smelling waste. Regardless of how tidy your kitchen is, a disgusting odour will most definitely dampen the overall aesthetics.
It is recommended to clean your bin once a week to avoid odours from building up. When cleaning your kitchen bin, always wear rubber gloves and use a disinfectant spray. The disinfectant spray can be applied to both the inside and exterior of the bin and then scrubbed using a large cleaning brush. Any excess cleaning product can be wiped away using a clean, dry cloth.
If you notice that the smell still lingers after disinfecting, not to worry. Add a little baking soda along with a few drops of essential oil to the inside of the bin and allow to settle for a few hours. Baking soda is excellent at absorbing existing odours, and the oils will provide a new, fresh scent.
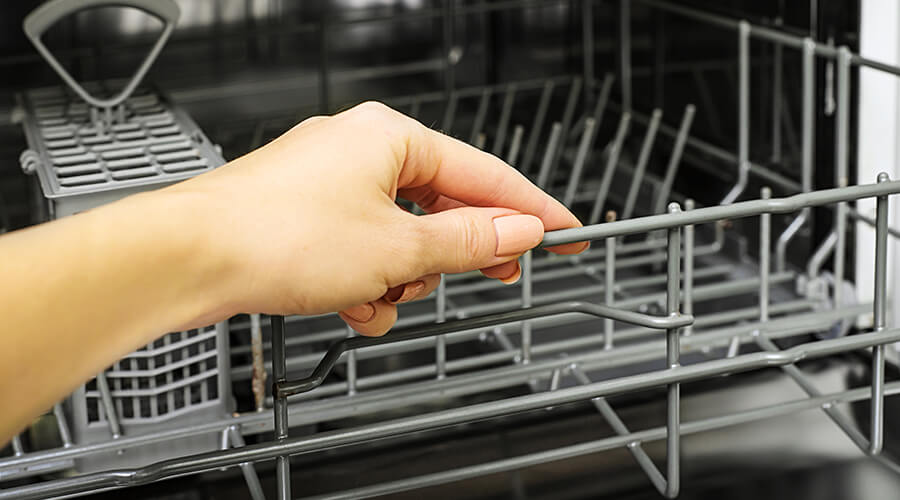
Deep Cleaning The Dishwasher
Deep cleaning your dishwasher is easier than you would expect and if done regularly, there will be no need to spend hours scrubbing each interior component.
Start by ensuring that all items of cutlery and dishes are removed and the dishwasher is clear. To deep clean the system, merely place a mug of white vinegar on any shelf and set the dishwasher on an empty wash. The combination of the high pressure, high temperature and acid of the vinegar will remove any buildups. Next, do a second empty wash but this time without the vinegar and instead with up to five tablespoons of baking soda spread across the bottom of the dishwasher. If there is any excess residue left over after deep cleaning, this can be wiped away with a dry cloth.
Maintain An Immaculate Kitchen Hassle-Free!
Keeping your kitchen is pristine condition doesn’t have to take hours of elbow grease and a whole host of harsh chemical products. Instead, complete each task one by one as soon as you notice signs of a buildup of dirt, grease and grime. In doing this, you will save yourself both time and money.
If your current kitchen is looking a little worse for wear and you’re hoping to complete some well-deserved home renovations, then please feel free to contact Renov8 Kitchens! Our highly experienced team specialise in modern kitchens in Towcester and surrounding areas, designing and installing a space you cannot wait to show off to friends and family!